Why a Rain Garden Is Perfect for Heavy UK Downpours
In my own garden here in the UK, I’ve watched heavy rain turn borders into mud baths and patios into temporary ponds. Instead of fighting the water, I’ve learned to work with it. A rain garden is one of my favourite ways to do that: a shallow, planted hollow that gathers, slows, and filters rainwater so it can soak into the ground naturally.
Designed well, a rain garden is low-maintenance, beautiful, and incredibly helpful for biodiversity. It’s a small act of climate resilience at home, and it fits perfectly with a permaculture mindset: observe, mimic natural systems, and let the garden do most of the work.
What a Rain Garden Actually Does
A rain garden is not a pond. It’s usually dry between showers and only holds water for a short time after heavy rain. Here’s what it helps with:
- Reduces flooding and puddling – It catches roof runoff and surface water, stopping it rushing straight into drains.
- Improves soil and groundwater recharge – Water is slowed down and given time to soak in, rather than wash away.
- Filters pollution – Plants and soil life help trap grit, oil residues and nutrients from runoff, especially from driveways and roofs.
- Supports wildlife – Flowering, deep-rooted perennials attract pollinators and provide habitat for insects, frogs, and birds.
- Creates beauty from a problem area – That boggy bit of lawn or awkward corner suddenly has a purpose.
Choosing the Right Spot in a UK Garden
I always start with observation. The next time you get a proper British downpour, put on your waterproofs and watch what the water does in your garden.
Look for:
- Places where water naturally collects or flows.
- Downpipes and gutters that discharge large volumes of water.
- Low-lying lawn that turns squelchy for a few days after rain.
A good rain garden spot is:
- At least 3 metres away from buildings – You don’t want water pooling right up against foundations.
- On a gentle slope – Roughly 1–5% (a drop of 1–5 cm per metre) is ideal to help water flow in.
- Above the wettest area – You want to intercept water as it moves, rather than just sit in the boggiest patch.
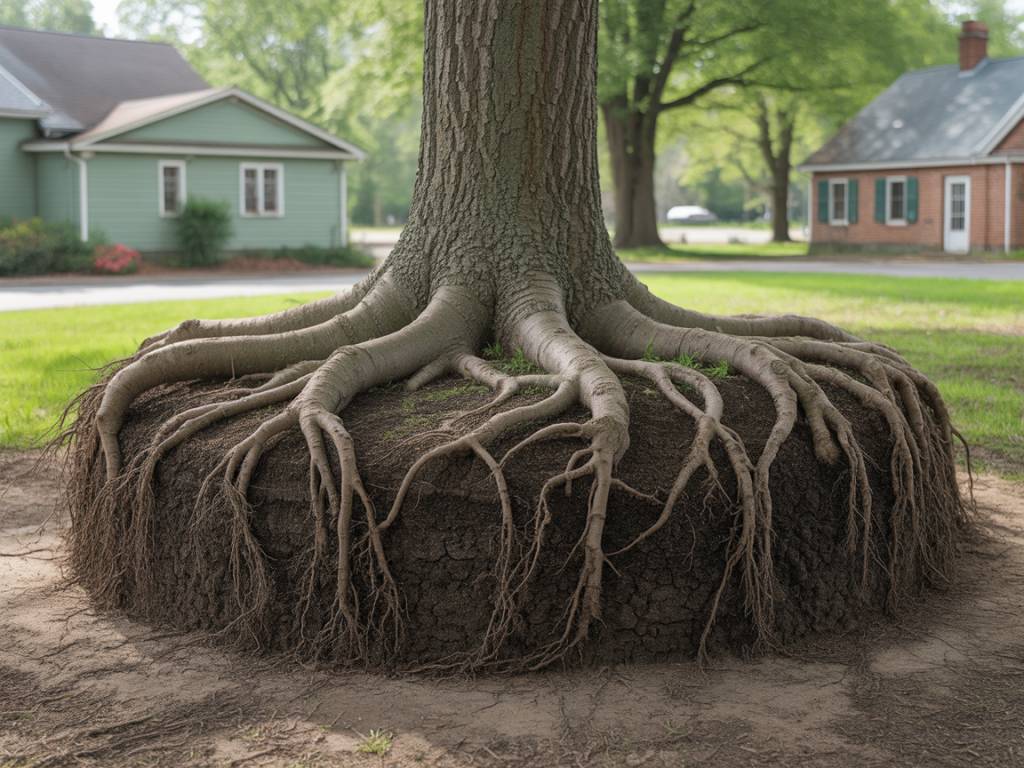
One word of caution: if you have very heavy clay that stays waterlogged for weeks, a standard rain garden might struggle. In those areas I either improve infiltration over time with organic matter and deep-rooted plants, or I turn it into a more deliberate wetland bed rather than a quick-draining basin.
Testing Your Soil and Drainage
Before I dig, I always check how quickly the soil drains. It only takes an afternoon.
Here’s my simple test:
- Dig a hole about 30 cm wide and 30 cm deep where you plan the rain garden.
- Fill it with water and let it drain completely (this saturates the soil).
- Fill it again, and this time measure how long it takes to drain.
If the water drains within 24 hours, you’re in a good range. A classic rain garden is designed to empty in around 24–48 hours. Longer than that, and you may want to improve drainage by adding more organic material, loosening the subsoil slightly with a fork, or choosing plants that tolerate prolonged wet conditions.
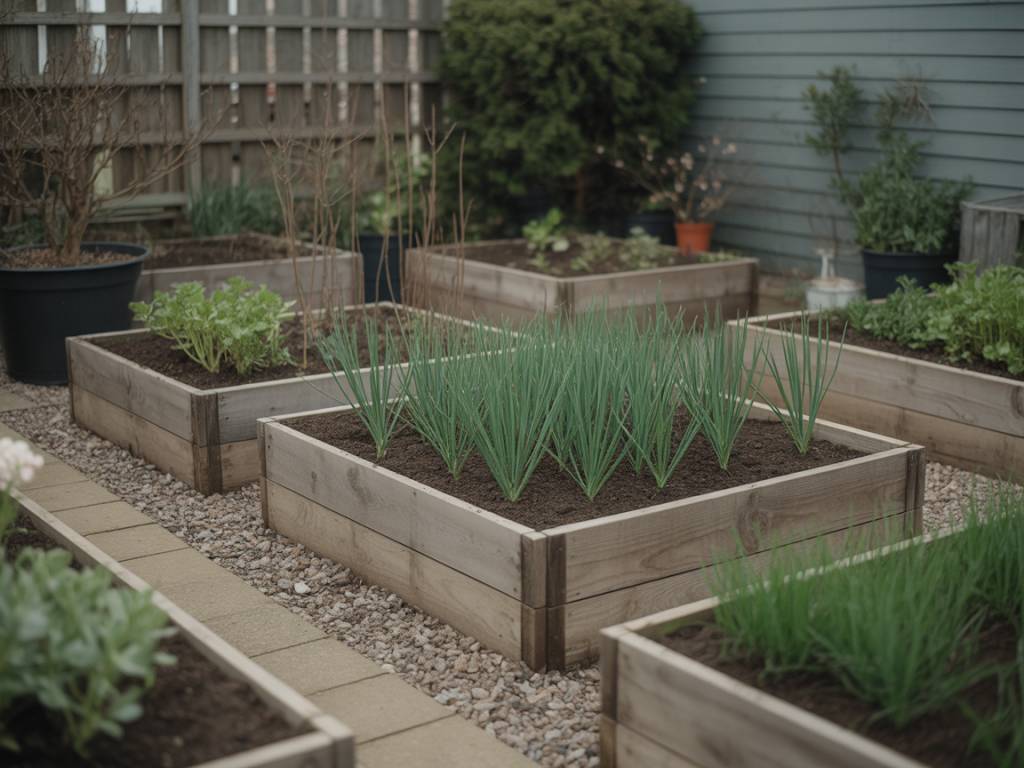
Sizing a Low-Maintenance Rain Garden
In a home garden, I tend to keep things simple rather than getting lost in calculations. As a rough guide for the UK climate:
- If you’re capturing water from a single downpipe on an average semi-detached house, a rain garden of about 3–6 square metres is a good starting size.
- If you’ve got a larger roof area or driveway, think about multiple smaller rain gardens or a chain of features rather than one huge basin.
From a permaculture point of view, I’d rather build slightly smaller, then observe and adapt. You can always extend the bed or add a second one once you see how it copes with a couple of winters.
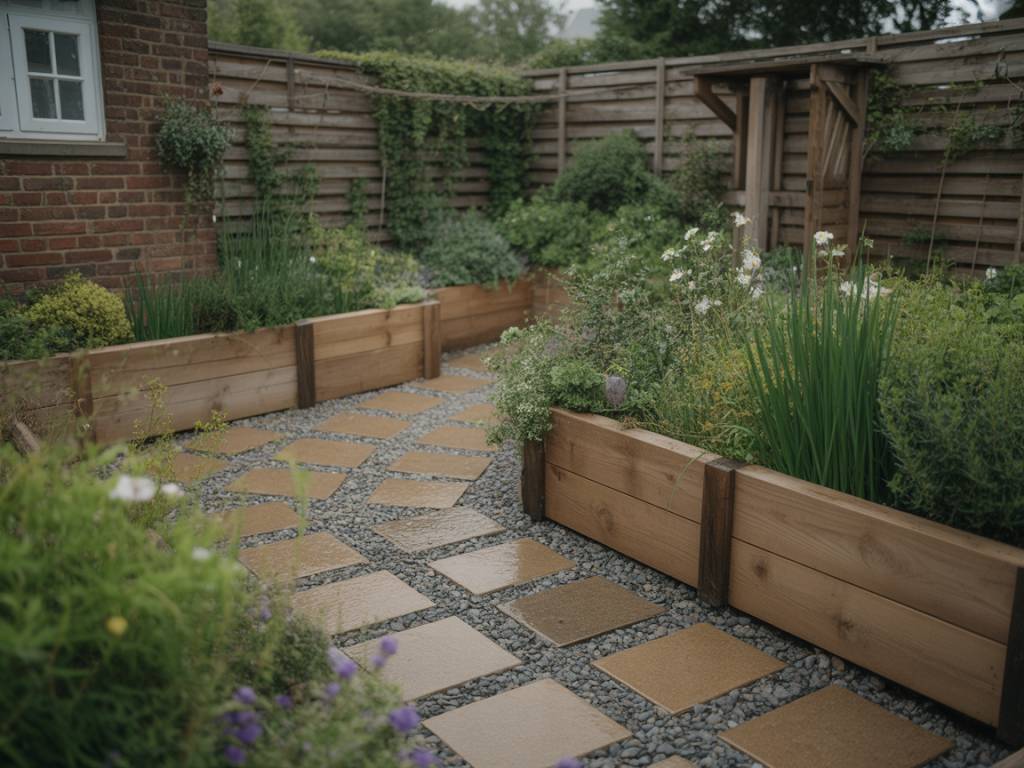
Designing the Shape, Depth and Overflow
Most of my rain gardens are shallow, gently-curved basins that blend with the rest of the garden. Hard lines and very deep pits are unnecessary and create more maintenance.
I like to follow these guidelines:
- Depth: Around 10–20 cm deep in the centre is enough. This slows water down without creating a hazard or a swamp.
- Slopes: The sides should be gently sloped, not vertical. That makes planting easier and safer, and roots can stabilise the soil.
- Shape: Curved, organic shapes look more natural and integrate beautifully with borders and lawns.
You also need a safe route for excess water in extreme storms. I always include:
- An inlet: This is where water flows in from a downpipe, swale, or channel. Use stones, gravel, or a small bed of tough groundcover to stop erosion.
- An overflow: A slightly lower point at the edge of the basin, leading water away to a lawn, another bed, or a soakaway. I like to mark this with a line of stones.
Digging and Building with Soil Health in Mind
When I dig a rain garden, I work gently and think about soil life. I avoid compacting the base by trampling over it and I keep topsoil and subsoil in separate piles if I can.
My typical process:
- Mark out the shape with sand, string, or a hose laid on the ground.
- Remove turf or existing vegetation carefully; you can reuse turf to build small berms (low mounds) around the edge.
- Excavate gradually to your desired depth, keeping the base roughly level.
- Sculpt small berms on the downhill side using the removed soil, tamping them down lightly with your feet.
- Check that water will naturally flow into the inlet and exit at the overflow with a watering can or hose.
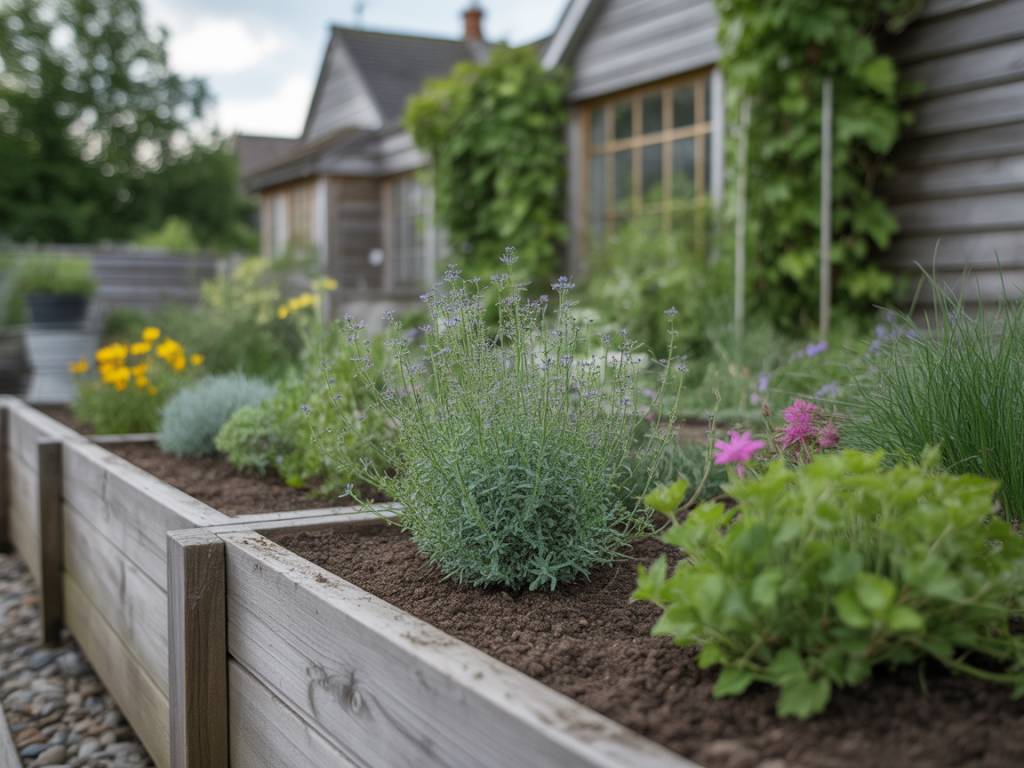
In most UK gardens, I don’t add a special soil mix. I simply improve the existing soil with generous amounts of homemade compost or well-rotted organic matter in the top 15–20 cm. This keeps it in line with a natural, permaculture-inspired approach, feeding soil organisms rather than importing lots of materials.
Choosing Resilient Plants for UK Rain Gardens
Plants are the true workers in a rain garden. I look for species that can cope with being wet for a day or two, then fairly dry in between. They also need to suit your light conditions: is your spot in full sun, dappled shade, or fairly shady?
For full sun or light shade, some reliable, wildlife-friendly choices include:
- Iris sibirica (Siberian iris) – Elegant, moisture-tolerant, great vertical accent.
- Lythrum salicaria (purple loosestrife) – Loved by pollinators, though it can spread in very damp conditions; I place it carefully.
- Achillea millefolium (yarrow) – Deep roots, drought-tolerant once established, fantastic for insects on the slightly drier edges.
- Geranium ‘Rozanne’ or similar hardy geraniums – Good groundcover, cope with variable moisture.
- Carex species (sedges) – Add structure and hold soil, ideal for the slightly wetter middle zones.
- Verbena bonariensis – Airy, tall, adored by butterflies; I tend to plant it towards the back and drier rims.
For semi-shade or heavier soils, I often use:
- Iris pseudacorus (yellow flag iris) – Best in the wetter centre; I plant it sparingly in small gardens as it can be vigorous.
- Filipendula ulmaria (meadowsweet) – Beautiful in damp spots, great for insects.
- Hosta varieties – In shadier, moisture-retentive areas, with slug protection if needed.
- Astilbe – Feathery flowers, loves moisture and shade.
I also include plenty of native species and self-seeders, such as foxgloves and native grasses, to let the garden gradually naturalise. Diversity makes the whole system more resilient.
Creating Simple Planting Zones
To keep maintenance low, I think in three moisture zones:
- Centre (wettest area) – Plants that enjoy occasional saturation: sedges, irises, meadowsweet.
- Mid-slope – Plants that like moisture but won’t sulk if it dries out at times: hardy geraniums, astilbes, some grasses.
- Upper edge and berm – More drought-tolerant, deep-rooted perennials: yarrow, small ornamental grasses, verbena, herbs like oregano and thyme if it’s sunny.
By matching the plants to the micro-conditions, I avoid constant watering and pampering. Once established, I rarely water my rain garden except in very prolonged summer droughts.
Keeping It Truly Low-Maintenance
To me, low-maintenance doesn’t mean “no work at all”; it means light, seasonal attention rather than constant fiddling.
Here’s how I look after my own rain garden:
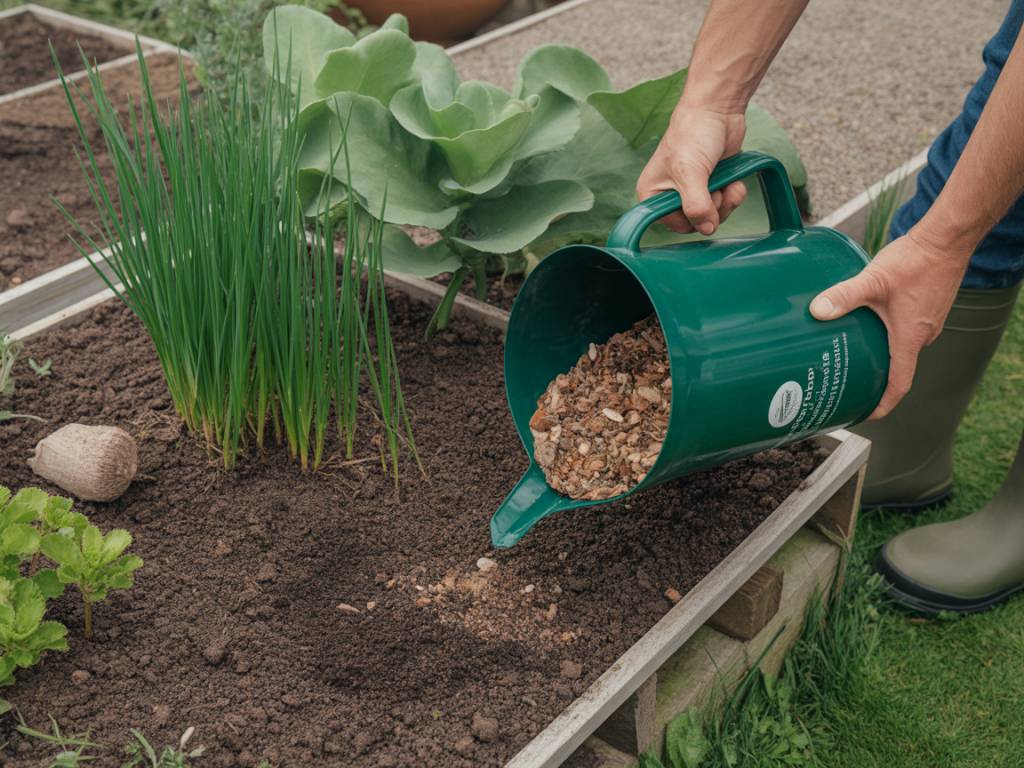
- Mulching: After planting, I mulch with a 5–7 cm layer of composted woodchip or garden compost. This suppresses weeds and keeps soil moisture even.
- Weeding: In the first year, I hand-weed little and often. By the second or third year, the plants usually knit together and outcompete most weeds.
- Cutting back: I leave seed heads over winter for wildlife and structure, then cut back in late winter or very early spring, letting the debris break down on the soil or using it in the compost heap.
- Checking inlet and overflow: After big storms, I have a quick look to make sure stones haven’t shifted and leaves haven’t blocked anything.
Over time, the soil will become richer in organic matter, worm tunnels will improve drainage, and roots will stabilise the structure. That’s when the rain garden really starts to behave like a small, self-regulating ecosystem.
Blending a Rain Garden into Your Overall Design
A rain garden doesn’t need to look like an “engineering project”. I soften mine with:
- Curving paths that lead past it, so I can enjoy the flowers and visiting insects.
- Stepping stones or logs along the edge for access and visual interest.
- Rocks and boulders to stabilise steeper bits and create basking spots for insects.
- Companion planting that links it to nearby beds, repeating key plants or colours.
In a permaculture-inspired garden, each element has several functions. My rain garden is not only stormwater management; it’s also a pollinator border, a teaching tool, a soil-building zone, and a quiet place I like to sit near after rain, listening to the dripping leaves and buzzing life.
If you live with heavy UK downpours and patches of standing water, a rain garden can turn that frustration into a real asset, and once it’s settled in, it asks for very little in return.
Samanta