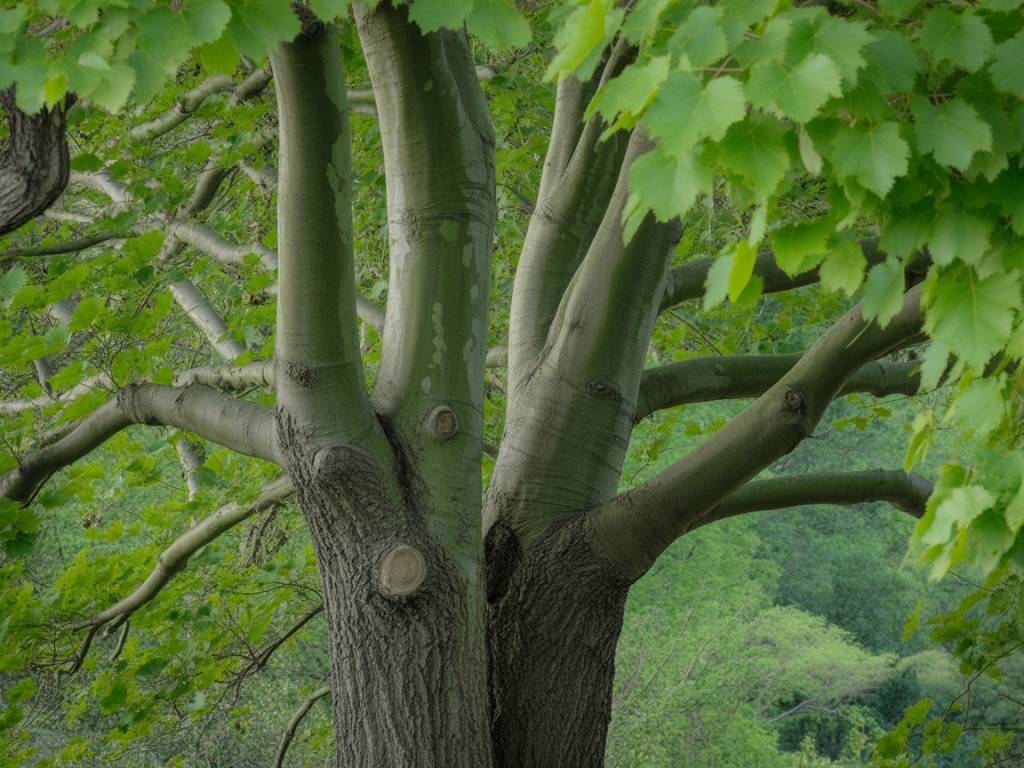
Why I Fell in Love with Root Barriers (and Not Just Concrete)
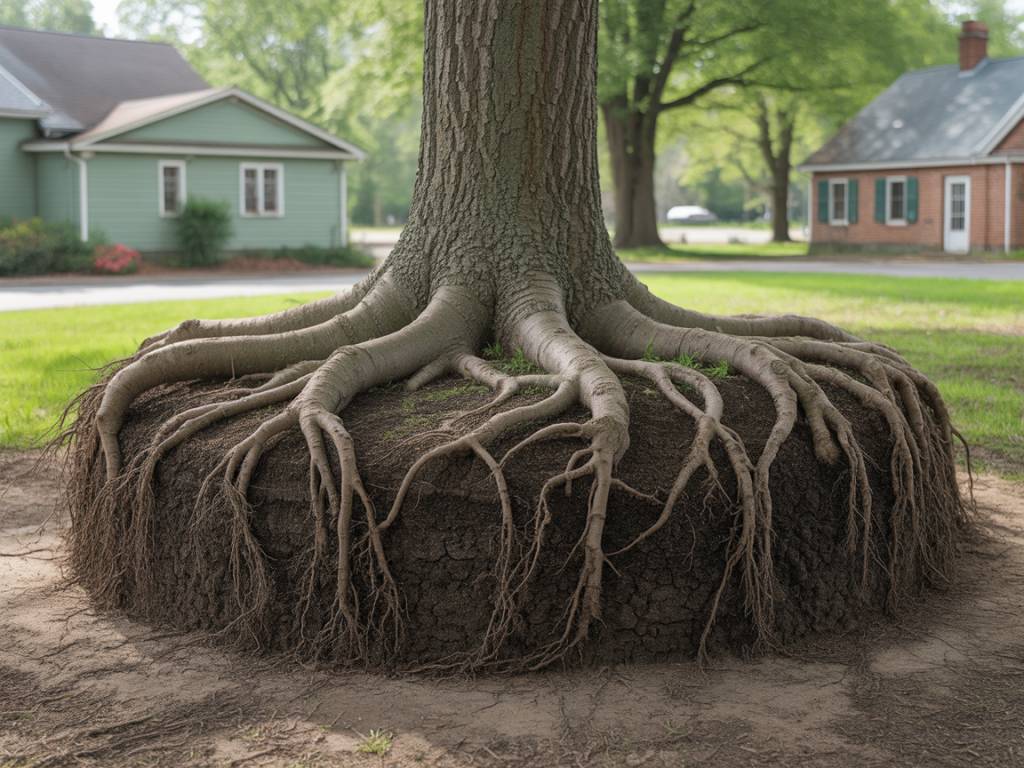
There’s a quiet tension that runs beneath many of our gardens, hidden under the lawn and the flowerbeds. On unassuming mornings, while we sip tea and admire a favourite tree, its roots may be inching towards our home’s foundations, drains or paths. Trees don’t mean any harm, of course – they’re simply following moisture and stability. But foundations and pipework are rarely as forgiving.
Over the years, I’ve come to see root barriers not as “tree handcuffs”, but as gentle guides – like garden fences that don’t keep the tree out, only point it in a safer direction. Used thoughtfully, they protect buildings, patios and pipes while allowing trees to remain healthy, graceful presences in our gardens.
In this article, I’ll share how I choose root barriers for different situations, what I look out for during installation, and how I keep both house and tree happy over the long term.
When Do You Actually Need a Root Barrier?
Not every tree near a house is a ticking time bomb. Sometimes, the kindest thing you can do is simply let roots wander in peace. However, there are a few warning signs and scenarios where a root barrier is worth serious consideration.
I start asking myself about barriers when:
- A mature or fast-growing tree is very close to the house – especially thirsty species such as willow, poplar, eucalyptus, ash, or large conifers.
- The soil is shrinkable clay – these clays swell when wet and shrink when dry, making foundations more vulnerable to movement as trees absorb water.
- I see early damage – cracked paths, lifted patios, distorted fences, or roots pushing up through the lawn near built structures.
- There’s a history of subsidence – in your home or neighbouring homes, particularly in older properties with shallow foundations.
- New planting is planned close to a building – and I want to “design in” a safe rooting pattern from the start.
If one or more of these rings a bell, a root barrier can be an elegant middle path between “keep the tree” and “call in the stump grinder”.
How Root Barriers Actually Work (Without Suffocating the Tree)
A root barrier is simply a physical or chemical obstacle that changes the direction of root growth. The key idea is not to stop roots growing, but to gently redirect them away from sensitive areas like foundations, pipes, and hard landscaping.
Roots, like water, tend to follow the path of least resistance. When they meet a solid, continuous barrier:
- They turn and grow downwards or sideways, away from the protected structure.
- They explore other soil volumes where moisture and oxygen are available.
- The tree learns, over time, to rely on safer rooting zones.
As long as the barrier is deep enough, well installed, and not wrapped tightly around the trunk, the tree can still anchor itself, find water and nutrients, and remain structurally safe.
The Main Types of Root Barriers I Use (and Why)
Not all root barriers are created equal. Some are rigid, some are flexible, some are more like guiding walls than impenetrable shields. Here are the main families I work with in gardens.
Rigid Plastic Panels (Vertical Barriers)
These are probably what most people picture: thick plastic or composite sheets installed vertically into the soil, forming a straight or curved “wall” between tree and structure.
Where I use them:
- Between large trees and house foundations.
- Alongside drives, paths, and patios that keep cracking.
- Around new building extensions when existing trees are being retained.
What I like about them:
- Reliable redirection – they present a clear, strong surface that roots can’t easily penetrate.
- Long lifespan – good quality panels are UV-stable and rot-resistant.
- Predictable performance – ideal when you’re working close to valuable structures.
What to watch out for:
- They must be installed deep enough (often 1.0–1.5 m, depending on tree and soil) to stop roots simply going under.
- Joints between panels need to be tightly sealed so roots can’t slip through tiny gaps.
- They can create sharp changes in soil moisture on either side – which is why positioning and tree choice matter.
Flexible Root Barrier Membranes
These are tough, flexible sheets – often made of high-density polyethylene (HDPE) or similar materials – that can be rolled out and cut to shape. They’re particularly helpful where the barrier line needs to curve, snake around objects, or follow an irregular boundary.
Where I use them:
- When protecting winding garden paths that curve near trees.
- Along fence lines where roots are starting to push posts out of position.
- In smaller gardens where I need both flexibility and discretion.
What I like about them:
- They’re easier to trim and shape on site.
- They can form smooth curves, which look and behave more naturally underground.
- They pack down smaller and are often easier for DIY gardeners to handle.
What to watch out for:
- They still need to be installed vertically and deep enough.
- Overlapping sections must be securely joined, typically with strong tape or mechanical fasteners.
- Cheap, thin membranes are a false economy – strong roots can punch through them over time.
Root-Guiding Barriers (Vertical with Ridges or Channels)
Some modern systems are designed not just to block roots, but to actively guide them downward. These barriers often have vertical ribs or channels that encourage roots to travel deeper instead of spreading just below the soil surface.
Where I use them:
- Near urban foundations where I need extra reassurance about depth.
- For newly planted trees close to buildings, to train their root systems from the start.
- Where surface rooting has become a problem for mowing or paving.
What I like about them:
- They promote deeper, more stable rooting, which can help structural stability for the tree.
- They reduce the risk of surface root heave under lawns and paths.
- They blend protection with tree health in mind.
Chemical or Geotextile Barriers
There are also specialist geotextiles treated with root-inhibiting chemicals. Personally, I use these far less frequently, and usually only in very specific, professional contexts.
Why I’m cautious with them:
- I prefer physical redirection to chemical inhibition wherever possible.
- Not all products are equally well-tested, and longevity can vary.
- Many home gardeners prefer to keep chemical inputs minimal, especially near edible beds.
When I do consider them, it’s usually in consultation with an arborist or landscape architect, and primarily for civil or commercial projects rather than domestic gardens.
Depth, Distance, and Direction: My Golden Rules
Choosing the right type of barrier is just one part of the puzzle. Where and how you install it matters just as much. Over time, I’ve developed a few guiding principles that keep both buildings and trees happier.
1. Don’t Hug the Tree Trunk
It can be tempting to put the barrier snugly around the tree to “catch everything”. But wrapping a tree tightly is like putting it in a corset – bad for structure, anchor roots and future growth.
- I usually position the barrier at least 1–2 m away from the trunk, more for large trees.
- The aim is to protect specific structures, not imprison the root flare.
2. Think in Lines, Not Circles
Most of the time, I use barriers in arcs or straight lines between the tree and the structure I’m protecting – not full rings around the tree.
- An arc allows roots to grow freely on the “garden side”.
- A line creates a clear “no-go” direction towards the house or patio.
3. Go Deep Enough
The depth of the barrier depends on tree species, soil type and what you’re protecting, but as a rule of thumb:
- For small trees and shrubs: around 60–90 cm may suffice.
- For large trees near buildings: often 1.0–1.5 m is recommended.
When in doubt near valuable foundations, I’d rather err on the deeper side, or ask a structural engineer or arborist for guidance.
4. Make It Continuous
Roots are patient opportunists. They will find the one gap you missed.
- Joins must be firmly connected and overlapped.
- The barrier should emerge slightly above soil level or be finished with a cap, to stop roots diving over the top into mulched beds.
5. Respect Water Movement
Roots chase water, and barriers change how water moves through soil. Suddenly drying out the soil near a foundation can be as risky as letting it stay too wet.
- I avoid creating unexpected dry pockets right beside shallow foundations.
- Sometimes, installing a barrier is paired with careful watering or mulching on the safe side of the tree to keep moisture more balanced.
An Example from My Own Garden
Many years ago, I planted a young silver birch in a narrow strip between our old stone house and a neighbour’s fence. It was a romantic decision, not an engineering one. Within a decade, its roots were lifting the path and nudging a drain inspection cover.
I didn’t want to lose the dappled shade it cast on summer afternoons. So, after consulting an arborist friend, we chose a flexible root barrier membrane:
- Installed in a gentle curve between the tree and the house, about 1.2 m deep.
- Kept roughly 2 m away from the trunk, so anchor roots remained undisturbed.
- Joined carefully at overlaps and brought just above the soil line.
On the “garden side”, I mulched generously and underplanted with shade-loving perennials. The tree responded with strong growth towards the open soil and light, and after a couple of years, the path stopped moving. The house remained calm, and I kept my beloved birch – a compromise I’d happily make again.
Working with Existing Trees vs. New Plantings
It’s always easier to guide roots from day one than to renegotiate with a mature tree. The way I think about barriers changes depending on whether I’m dealing with an established tree or a new planting.
For existing trees:
- I start by assessing overall tree health – any signs of disease, decay, or instability?
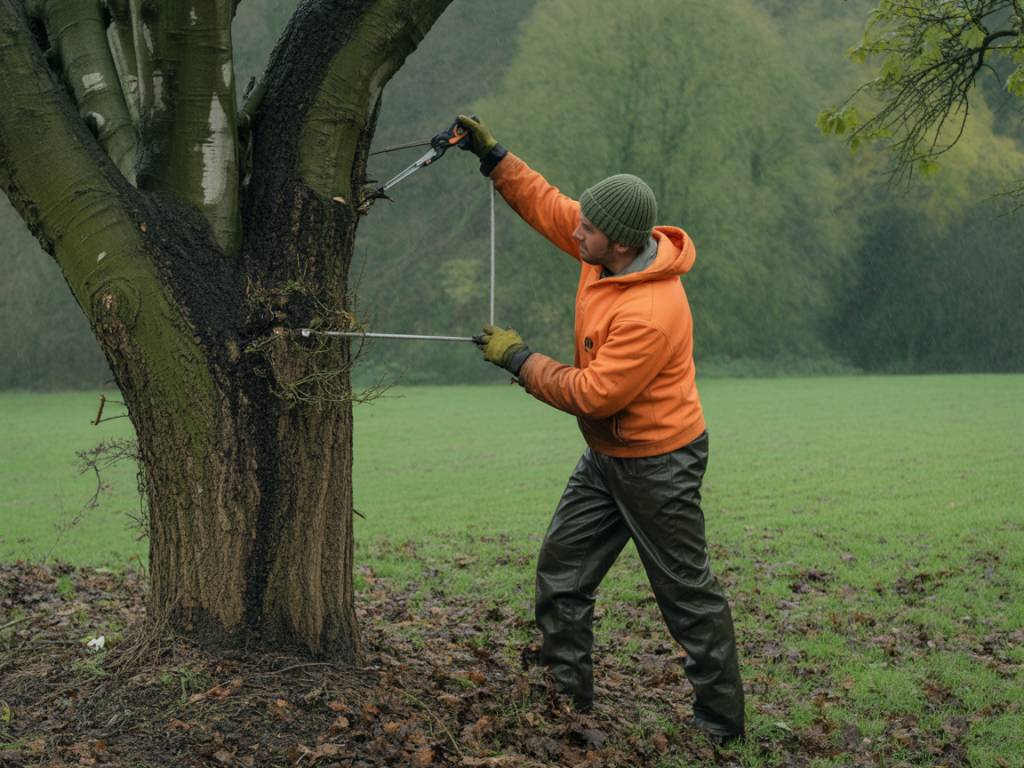
- I avoid cutting major structural roots close to the trunk; this can destabilise the tree.
- Where significant root pruning is required, I involve a qualified arborist.
- I may phase in changes – root pruning and barrier installation done gradually, with careful monitoring.
For new trees:
- I choose appropriate species for the distance from the house and the soil type.
- I sometimes install a root-guiding barrier at planting, on the “house side” only.
- I give the roots generous space to roam on the opposite side, into good-quality soil.
Planning ahead turns the barrier from an emergency measure into a thoughtful design tool.
Choosing Materials with the Environment in Mind
As gardeners, we’re rightly sensitive to what we bury in the soil. Root barriers are usually made from plastics or composites, which raises understandable questions.
When choosing materials, I look for:
- Durability – a barrier that fails in ten years is wasteful; a long-lasting one avoids repeated disturbance.
- Recyclability – some panels and membranes can be recycled at end of life.
- Minimal chemical leaching – reputable manufacturers provide data on safety and use.
In many cases, the environmental cost of a well-chosen, long-lived barrier is offset by:
- Saving a mature tree from felling.
- Preventing the resource-intensive repairs associated with foundation and drainage damage.
- Allowing us to design denser, greener urban spaces where trees and buildings share space more gracefully.
When to Call in Professional Help
I’m a great believer in doing what we can with our own hands, but there are times when a trowel and a YouTube video simply aren’t enough.
I always suggest seeking professional advice when:
- There’s visible cracking or movement in the house structure.
- The tree is large, protected, or of particular value.
- Major roots need to be cut or exposed close to the trunk.
- The soil is known to be highly shrinkable clay, and foundations are shallow.
An arborist, structural engineer, or building surveyor can often work together to design a barrier line that respects both the tree’s biology and the house’s needs. It can feel like an extra step, but it’s far cheaper than rushed decisions and remedial works later on.
Keeping the Tree Happy After Barrier Installation
Once a root barrier is in place, the relationship between tree and soil shifts subtly. I like to give the tree a little extra care for a few seasons as it adjusts.
- Mulch generously on the open side of the tree to encourage roots to explore that direction.
- Water during dry spells, particularly for younger trees, so they’re not stressed into desperate rooting near the barrier.
- Monitor the canopy for signs of stress – thinning foliage, dieback, or sudden changes deserve attention.
- Prune sensitively if needed, especially after major root pruning, to balance top growth and root capacity.
A healthy tree will quickly “learn” the new underground geography and settle into a safer rooting pattern.
A Gentle Balance Between Brick and Bark
In the end, choosing a foundation root barrier is an act of mediation. On one side, we have brick, stone, and carefully laid pipes; on the other, living wood, searching roots, and the slow, patient ambition of trees. Our job as gardeners is not to pick a favourite, but to help them coexist.
With thoughtful placement, suitable materials, and a little professional guidance when needed, root barriers can be quiet allies. They protect the homes we’ve built, while allowing the trees we love to keep shading our windows, hosting our birds, and dancing in the wind just beyond the glass.
So if you find yourself torn between a beloved tree and a nervous surveyor’s report, know that there is often a middle path. It may lie not in the branches above, but in the unseen line of a well-placed barrier below – a discreet promise that both house and tree can stay, side by side, for many seasons to come.