There is a special kind of quiet magic in planting bare root roses. No glossy pot, no instant bouquet of leaves – just a modest tangle of roots and stems that look, at première vue, almost lifeless. And yet, given the right care, they burst into some of the strongest, healthiest blooms you’ll ever welcome into your garden.
In this guide, I’ll walk you through a simple, no-fuss way to plant bare root roses so they settle in quickly, root deeply and reward you with flowers that look as though they’ve been in your garden for years.
Why choose bare root roses?
You may wonder why anyone would choose a stick with roots over a leafy rose in a pot. There are several very good reasons.
First, bare root roses are usually:
- More affordable than potted roses, so you can indulge in an extra variety or two.
- Easier to transport and plant – no heavy pots or root-bound tangles to wrestle with.
- Quicker to establish in the soil, because their roots adapt straight away to your garden instead of circling inside a container.
- Available in a wider range of varieties, especially heritage and specialist roses you might not find in garden centres.
And then there is the timing. Bare root roses are planted while they are dormant, between late autumn and early spring. That peaceful winter sleep lets them quietly knit their roots deep into your soil, ready to burst into life once warmer days arrive.
When is the best time to plant bare root roses?
Think of bare root roses as winter guests – they like to arrive when the garden is resting. In most temperate climates, the ideal planting window is:
- Late autumn to early spring, roughly November to March, when the soil isn’t frozen or waterlogged.
- Any frost-free day where the soil is workable and not sticking heavily to your spade.
A light frost overnight won’t harm the rose, but avoid planting into rock-hard frozen ground or soggy, muddy soil that smears and compacts. If your roses arrive in the middle of a cold snap, keep them cool and frost-free and wait for a gentler day – they’re more patient than we are.
How to store bare root roses before planting
Sometimes roses arrive when the weather or your diary isn’t quite ready. Don’t worry; bare root roses can wait a little.
When your roses arrive:
- Open the package promptly to check the canes and roots. They should be firm and slightly moist, not brittle or mouldy.
- Keep the roots damp. If they’re wrapped in plastic or paper with a little compost or sawdust, leave that in place and lightly mist if it feels dry.
- Store them in a cool, frost-free place such as a shed, garage or unheated porch. Avoid warm rooms – warmth can wake them too soon.
If you need to wait more than a few days, you can “heel in” the roses:
- Choose a sheltered spot or large container of soil.
- Dig a shallow trench or deep hole.
- Lay the roses at a slight angle and cover the roots with moist soil.
- Firm gently and leave them there until you are ready to plant properly.
This temporary home keeps the roots safe and hydrated, like a little holding bay before their final destination.
Preparing the rose for planting
On planting day, give your bare root rose a little spa treatment. It makes a huge difference to how well it settles.
1. Soak the roots
Fill a bucket with fresh water and place the rose roots in it for at least one hour, and up to overnight. This rehydrates the plant after its journey and primes the roots to reach out into the soil.
You can add a splash of organic seaweed feed if you like – I think of it as a welcome drink after a long trip.
2. Check and tidy the roots
After soaking, examine the roots:
- Trim any broken or damaged roots back to healthy tissue with clean, sharp secateurs.
- If any roots are excessively long and won’t fit comfortably in the planting hole, shorten them slightly – but keep as much as you can.
No need to over-prune; you’re just giving them a neat haircut, not a drastic restyle.
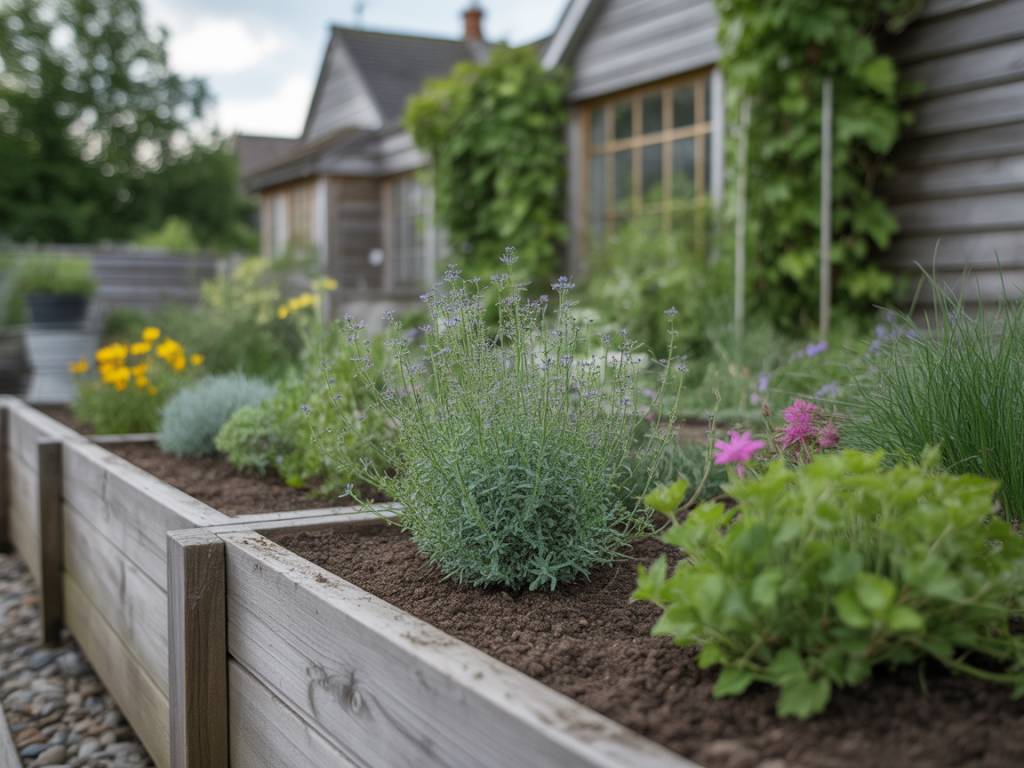
Choosing the perfect spot
Roses are not difficult plants, but they do have preferences, rather like guests who quietly gravitate towards the sunniest chair.
For strong, healthy blooms, choose a position that offers:
- At least 6 hours of direct sun per day in the growing season. Morning sun helps dry dew and reduce disease.
- Good air circulation to keep foliage healthy, but avoid constant strong winds that can snap new shoots.
- Well-drained soil – roses dislike sitting in cold, stagnant water around their roots.
As for soil type, roses are forgiving. They’ll thrive in most soils as long as it’s improved with organic matter. Heavy clay can be a rose’s friend if it’s opened up with compost; light sandy soils just need more organic matter and a little extra care to hold moisture and nutrients.
Preparing the soil properly
This is where the real magic happens. Think of the planting hole as the rose’s “nursery room” – a welcoming place to settle in and stretch.
1. Clear the area
Remove weeds, stones and large roots from the planting area. Give your rose a clean stage without competition, at least for its first year.
2. Dig a generous hole
A good rule of thumb is:
- Width: about 40–50 cm (16–20 inches)
- Depth: about 30–40 cm (12–16 inches)
Loosen the sides and bottom with your fork. The looser the surrounding soil, the easier it is for roots to wander and explore.
3. Improve the soil
Mix your excavated soil with:
- Well-rotted compost or manure (never fresh) – about one-third of the total volume.
- A balanced organic fertiliser suitable for roses, following the package instructions.
- A handful of bonemeal or another slow-release phosphorus source, if you use it, to support root growth.
Avoid placing strong fertiliser directly in contact with the roots; it’s like giving a very hot curry to a newborn. Gentle and well-mixed is the key.
Planting bare root roses step by step
Now to the gentle choreography of planting. This is one of my favourite garden rituals – slow, methodical, and full of promise.
1. Create a small mound in the hole
In the centre of your planting hole, form a low cone of your improved soil mixture. This will support the roots so they radiate outwards rather than clumping in a heap.
2. Position the rose correctly
Place the rose on top of the mound, gently spreading the roots around it like the spokes of a wheel.
The crucial detail is the height of the graft union – the swollen knobbly point where the rose variety is joined to the rootstock. In most climates:
- Keep the graft union just above soil level, about 2–3 cm (1 inch) above the final soil surface.
- In colder regions with harsh winters, you may prefer to plant with the graft 2–5 cm (1–2 inches) below soil level for extra protection.
Turn the best-looking cane towards the direction you’ll most often see the rose. It’s a small pleasure later when the first blooms open facing your favourite view.
3. Backfill and firm gently
Start refilling the hole with your soil mixture, shaking the plant very slightly now and then so soil drops between the roots. When the hole is half filled:
- Firm the soil gently with your hands or the toe of your boot – enough to remove air pockets, but not so much that you compact it heavily.
- Finish filling to just below the desired soil level, checking that the graft union is at the correct height.
4. Water deeply
Give the newly planted rose a thorough watering. Let the water soak in fully, then top up the soil if it settles. Deep watering helps pull soil into contact with the roots and signals to the plant that this is home now.
Should you prune bare root roses at planting time?
Most bare root roses benefit from a light to moderate prune when you plant them. This balances the top growth with the reduced root system and encourages strong new shoots.
As a general guide:
- Remove any dead, damaged or very weak stems right back to healthy wood.
- Shorten the remaining canes by about one-third to one-half, cutting just above an outward-facing bud.
The exact pruning style will depend slightly on the rose type:
- Hybrid teas and floribundas: Prune fairly hard to build a sturdy framework from low down.
- Shrub and English roses: A medium prune keeps their natural, graceful shape while still encouraging bushiness.
- Climbing roses: Remove weak growth and trim back long canes slightly, but keep the main canes you’ll train later.
Use clean, sharp secateurs and don’t worry if they look a bit stark afterwards. Roses are resilient artists; they respond to this haircut with fresh, vigorous growth.
Mulching and finishing touches
Once your rose is comfortably in place and watered, it’s time to tuck it in.
Apply a generous layer (about 5–7 cm or 2–3 inches) of organic mulch around the base, keeping it a few centimetres away from the stems to avoid rotting. Good mulch options include:
- Garden compost
- Well-rotted manure
- Leaf mould
- Bark chips (mixed with a little compost)
Mulch helps to:
- Keep moisture in the soil
- Regulate temperature around the roots
- Suppress weeds that compete for water and nutrients
- Slowly improve the soil as it breaks down
Think of it as a cosy duvet for your rose’s roots.
Aftercare in the first year
The first year is all about helping the rose establish a strong root system so it can look after itself in the seasons to come.
Watering
- Water deeply once a week in dry weather, more often in very light, sandy soils.
- Avoid frequent, shallow splashes; they encourage roots to stay near the surface.
- Early morning watering is ideal, especially in summer.
Feeding
- In spring, when you see new growth, feed with a slow-release organic rose fertiliser.
- Feed again after the first main flush of flowers to support repeat blooming.
- Stop feeding towards late summer so new growth can harden before winter.
Watching for signs of stress
Newly planted roses sometimes sulk a little before they settle. Keep an eye on:
- Wilting or yellowing leaves – often linked to irregular watering or poor drainage.
- Slow growth – roses can be shy the first year, focusing underground rather than on top, which is perfectly normal.
- Pests like aphids – a simple spray of water or a visit from ladybirds usually keeps them under control.
With each week that passes, the rose roots will quietly map out their new territory. Months later, when you catch that first scent on a summer breeze, you’ll realise they’ve been busy all along.
Planting bare root roses in pots
If you don’t have a large garden, you can still enjoy bare root roses on a balcony or terrace. The method is similar, with a few adjustments.
Choose the right container
- Pick a pot at least 40 cm wide and deep, with good drainage holes.
- Use a high-quality container compost mixed with garden soil and organic matter for structure.
Planting tips
- Add crocks or coarse gravel at the bottom for drainage.
- Plant the rose with the graft union at the same level you would in the ground.
- Water thoroughly and top with mulch.
Container roses will need more regular watering and feeding, but they can still bloom generously, turning even a modest patio into a fragrant retreat.
Common mistakes to avoid
Even experienced gardeners have the odd rose that sulks, but these simple checks can prevent most problems:
- Planting too deep or too shallow – pay close attention to the graft union height.
- Ignoring drainage – if water pools around the rose after rain, improve drainage or raise the planting level.
- Using fresh manure – it’s too strong and can burn roots; always use well-rotted organic matter.
- Skipping the soak – dry roots struggle; that hour in water truly matters.
- Planting in heavy shade – most roses simply won’t thrive without good light.
The quiet joy of bare root roses
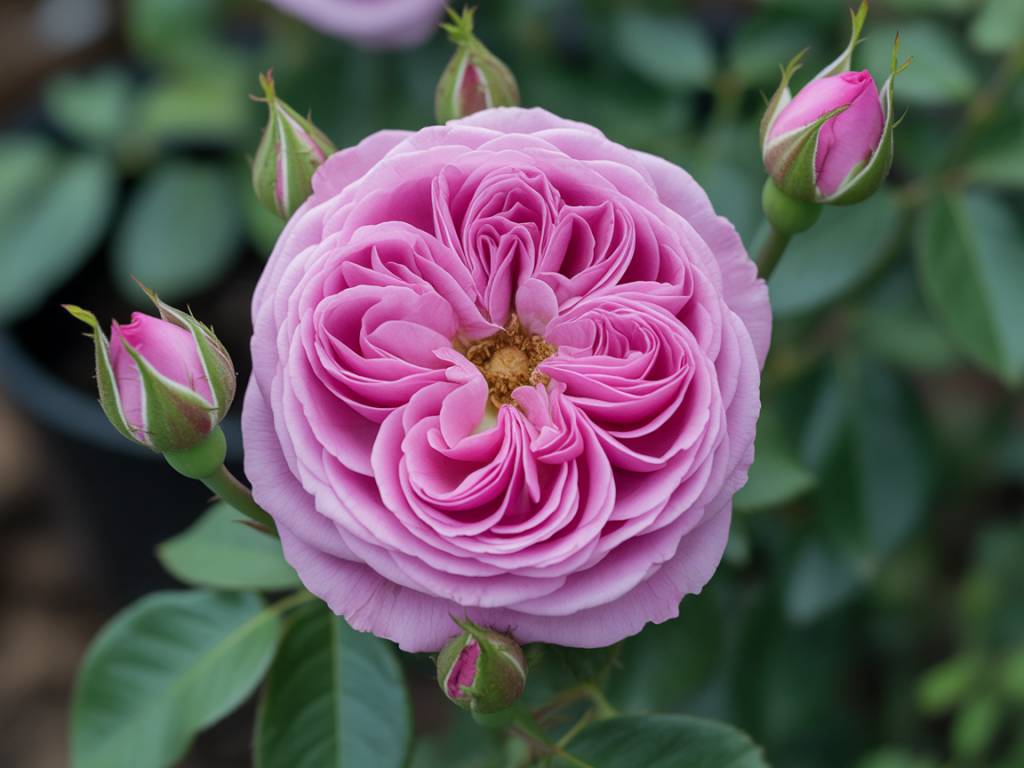
There is something deeply satisfying about standing in the garden on a cool winter’s day, hands a little muddy, having tucked a bare root rose into the earth. It doesn’t shout for attention; it simply waits, quietly knitting itself into the soil, preparing for its debut.
Months later, when the first buds unfurl – velvety, rain-kissed, perhaps with a hint of perfume that reminds you of your grandmother’s garden or a favourite walk – you’ll know that all the simple steps you took at planting have woven themselves into that moment.
If you’ve never tried bare root roses before, perhaps this is the season to invite a few into your borders. Choose a sunny spot, prepare the soil with care, soak the roots, plant with intention, and let time do the rest. The blooms that follow will carry not just colour and scent, but the quiet satisfaction of having given them the best possible start.